
So, here's how mine turned out:
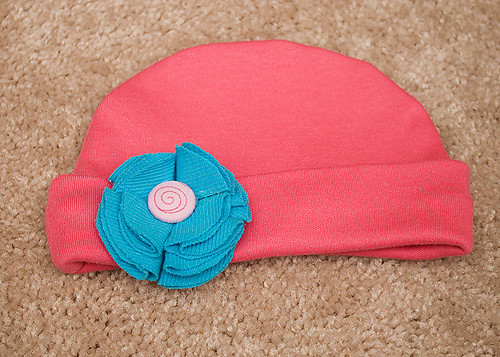
{Click here for hat tutorial}
I'm happy to report that for the first time in a LONG time (maybe ever?) I didn't need to use my seam ripper on this project! I can't brag too much because I did have to cut out the hat pieces three times before I cut it the right way (the "stretchiness" of the fabric needs to go from left to right). But, still! I'm making progress!
I just loved the fluffy little flower on these hats.
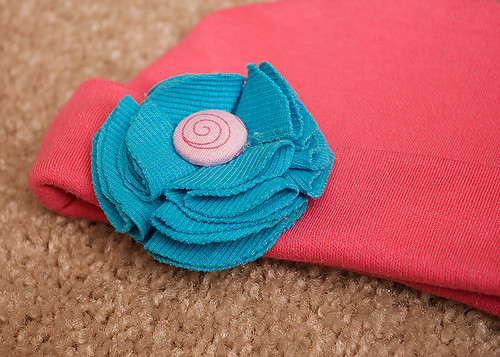
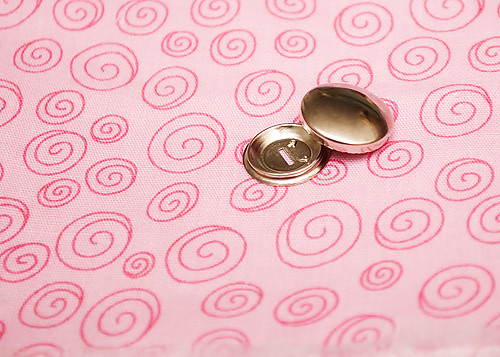
I even made the button myself! You can buy these button pieces and cover them with your own fabric (thanks to my friend Becca for teaching me that!).
I don't currently have anything for baby to wear that this hat will match with, so I might just have to try a little dress next. :)


1 comment:
That turned out adorable! I'm so happy you're sewing and giving me inspiration! A long time ago I found this tutorial on how to make your own covered buttons. Those button kits are kinda expensive.
http://michelemademe.blogspot.com/2010/06/tutorial-handmade-covered-buttons.html
Post a Comment